


March - Episode 2
Spring is in full swing!

Welcome to my second batch of articles for March which include:
· Fruit Blossom
· a look at rhubarb plus a recipe
· some more gardening jobs to be getting on with
· a book review
First, let’s look at Fruit Blossom.
One of the things I look forward to in spring, apart from the beloved house martins, swallows and swifts returning, is fruit trees coming into blossom. There is nothing quite like the sight of an orchard in full bloom accompanied by the thrum of bees doing what they do best to lift the soul and marvel at the beauty we so often take for granted. The vital, symbiotic relationship between fruit trees and bees is encapsulated in this haiku:
Fruit blossom unfurls,
Golden honeybee alights:
The precious union
It is without doubt a precious union; without bees and other insects to pollinate the flowers we will have no fruit.
But, like the house martins, swallows and swifts, (and luckily for the bees), fruit blossom doesn’t appear suddenly, all at once: it unfolds in succession over a matter of weeks.


Prunus domestica (plums) (left) and Prunus domestica subsp. inititia (damsons, also known as just Prunus insititia) are the first to show in March or April, followed by Pyrus communis (pear) (middle) and Prunus avium (cherry). You will see Malus blossom (apple) (left) throughout April and into May, and Cydonia oblonga (quince) will wait until late April before it flowers. Bringing up the rear is Mespilus germanica (medlar) in mid-May.
Let’s have a look at some of these in more detail.
First, plums, including greengages (Prunus domestica). Usually when you ask someone to name some varieties of plum they say ‘Victoria’ and then grind to a halt. On one nursery website I found 75 different plums with wonderful names such as ‘Warwickshire Drooper’, ‘Sanctus Hubertus’ and ‘Guthrie’s Late Green’. The blossom appears before the leaves and will last about a week. Although many plum varieties are self-fertile (which means you don’t need another variety near-by to ensure pollination), the yield will improve considerably if bees work the flowers. Like other fruiting trees you can decide how big you want your tree to grow by choosing an appropriate rootstock to which the fruiting top part has been grafted - for plums these range from semi-dwarfing to very vigorous, so any sized garden can accommodate a plum tree.
Second comes pear (Pyrus communis). There are a couple of decisions to make before you buy a pear tree: how big a tree do you want, what shape you want it to be, and do you want a pear for eating or cooking. Even if your garden is very small size shouldn’t post too much of a problem because you can even grow pear trees in containers. This is possible because the eventual size of the tree will depend on the rootstock to which the fruiting top part has been grafted. For example, some rootstocks will produce a tree with a mature height of about 1.2m, whereas with others you will get a tree up to 4.5m high. And your tree doesn’t necessarily have to be ‘tree-shaped’: you can train it into different forms. I particularly like the espalier form (Espalier is a French term, derived from the Italian word spalliera, meaning to rest against a shoulder.) Espalier trained trees consist of a set of horizontal ‘arms’ extending out either way from a main, vertical stem. The ‘arms’ have short lateral branches or spurs on which fruit is produced. The tree is trained into shape and held there by growing it against a wall or fence, or, if you want to use it to divide part of the garden, it can be trained against a trellis or wires between posts. They are very productive and decorative at the same time. You will also find ‘step-over’ trees: these are simply espalier trees with only one ‘arm’ low down, on either side of the main stem. Lastly, what do you want to use the fruit for, eating or cooking? Where I used to live I had two lovely varieties in my garden, a ‘Black Worcester’ which is a historic culinary variety dating back to 1575, and a dessert one called ‘Durondeau’, which originates from Belgium. You can even get varieties from which to make perry (a little like cider but made from pears).
Third is sweet cherry (Prunus avium). Like other fruit trees there are numerous varieties of edible cherry which have been cultivated for increased size and sweetness and less disease. A couple of British raised sweet varieties are ‘Penny’ and ‘Merton Premier’ which are just as cherries should taste; but beware - birds like them too so you will have to keep a good look out and gather them as soon as they are ripe enough to eat. The most common acid cherry, which is suitable only for culinary use, is ‘Morello’, but there are others available, such as ‘Kentish Red’ and ‘Montmorency’. Be careful when you buy your tree to make sure which type it is otherwise you could end up with a rather more tart-tasting one than you expected.
Fourth comes everyone’s favourite – apple (Malus domestica) . Just about everything I said about pears also applies to apples: the eventual size of the tree depends on the rootstock and you can choose from different forms. As for varieties there are hundreds to choose from too. You can have eating or cooking apples, or ones that double up as both. Your local climate will dictate to a certain degree which varieties you can grow successfully.
In addition, apple trees are assigned to a particular pollination group according to when they flower and since most apple trees need to be cross-pollinated, you will need two trees from the same group to achieve a crop of fruit. For example, if you fancy growing a ‘Keswick Codlin’ (suitable for the north of England) which is in group B, you will need another from group B, such as ‘Egremont Russet’ (also suitable for the north of England). It’s worth contacting a specialist nursery to ask for their advice.
Fifth is quince (Cydonia oblonga) . The origin of the quince is a little uncertain, but it is thought to have made its way to Britain from Southern Europe. Indeed, the first records of its cultivation here date to 1275. It was very popular in the 16th to 18th centuries, especially as a herbal medicine, treating a whole range of maladies from sore throats and diarrhoea to inflammation. In 1653 Nicholas Culpepper also advocated its use for those who were a little hirsutely challenged: made up into a plaster with wax ‘it brings hair to them that are bald, and keeps it from falling off’. Mmm - I am a little sceptical about that one.
Be that as it may, quince was also widely used in the kitchen, its fragrant flesh being added to fruit pies, preserved as jam or simply stewed. It fell out of favour for some time, however, but recently it seems to be making somewhat of a come-back and I have even seen fresh pear-shaped fruits on sale in a local supermarket. Quince can be eaten raw but it is hard and gritty and is much better left to soften, or, better still, cooked.
Throughout continental Europe you will find variations of quince paste or jam - Membrilo in Spain, Cotignac in France, Marmelada in Portugal (from which our word for orange ‘jam’ is derived).
There are 11 varieties of quince listed in one nursery catalogue – but don’t get confused with Chaenomeles japonica also known as quince, but grown for purely ornamental purposes.


Last is medlar (Mespilus germanica). It is thought that the medlar originated in the eastern Mediterranean. What we do know is that the Romans cultivated them and probably brought them to Britain.
The fruit is ready to pick in late October or early November when the stalk parts easily from the tree. At this stage they will still be hard so they must be allowed to soften before they can be eaten. This process is called ‘bletting’, which takes from two weeks to a month. The fruit is ready when the hard, cream-coloured flesh turns brown and mushy, but not rotten – it has been said that they are ‘ripened by their own corruption’. At this stage they can be eaten raw, but they can also be used in jellies, desserts and preserves.
A rather more descriptive name for medlar is ‘dog’s bottom’, a translation of the French cul de chien. Looking at the fruit from a particular angle, you can see why! Chaucer, in The Reeve’s Tale, refers to them in an even more colourful way!
Let’s turn our attention to another fruit - well, actually it’s not a fruit but it’s used like one.
It’s Rhubarb.
Rhubarb’s a bit like marmite – you either love it or hate it. I love it – especially rhubarb crumble with proper custard.
I think it used to be grown and eaten more widely, mainly because it bridged the gap between the last of the stored apples and the first fruits of summer, long before we could pop to the supermarket and buy out-of-our-season fruit flown in from the other side of the world.
If you do want to grow some rhubarb you can buy dormant crowns which should be planted between autumn and spring. Get the ground ready digging in two bucketsful per square metre of well-rotted manure, then spread out the roots and place the plant so the tip of the crown is just visible above the soil. If you buy pot-grown rhubarb, they can be planted at any time.
As with any other newly planted plant, however, make sure you water it sufficiently during the first season so that it becomes established as quickly as possible without being put under too much stress. Whether you’re planting crowns or pot-grown rhubarb, space the plants 75-90cm apart.
Once you’ve planted your rhubarb, give it a good mulch of composted manure - but don’t bury the crown as it will rot – and keep the ground free of weeds. A dose of general-purpose fertiliser (about 100g per square metre) in spring will keep it happy during the growing season.
There are a number of varieties to choose from, but my allotment friends tell me that these are the best: ‘Early Champagne’, ‘Hawkes Champagne’, ‘Stockbridge Arrow’, and ‘Victoria’. I had always grown ‘Timperley Early’ but apparently you get better results with ‘Stockbridge Arrow’, a newer variety, bred in Yorkshire.
Talking of Yorkshire, rhubarb has been grown in the so-called ‘Rhubarb Triangle’ in Yorkshire which comprises the area between Bradford, Wakefield and Leeds for many years – and still is. This forced rhubarb, grown in the dark in sheds, is tender and has a much more delicate flavour than outdoor-grown rhubarb. You can imitate this practice by putting some rhubarb forcing pots over the crowns (which have already been covered with a layer of straw or bracken) in December or January. This eliminates the light and gives added shelter.
When the stems reach the top of the container, they are ready for harvesting: this should be some two to three weeks earlier than you normally would. When you have had your fill, remove the pot and let the plant carry on growing as normal.


When you harvest the stems - forced or not - you must pull them away from the plant rather than cutting them - this way there will be no stump left behind to rot. Also, don’t harvest anything during the first year so that the plant can establish and build up some vigour. Even with established plants, don’t pull any stems after June. This will help the plant to regain its strength. Besides which, by this time the stems are getting a bit tough.
Remove any dead leaves and stalks as they occur. And in autumn, make sure you get rid of all the dead top growth to prevent the crown from rotting.
One point to remember is that you should not let your rhubarb plant produce flowers. If you do see a flower erupting, pull it out otherwise all the plant’s energy will be directed into the flowering stem rather than the leafing stems which are the ones you want to harvest.
Forced rhubarb should be ready for harvesting soon so here is a RECIPE for a soft-set jam, made with tender rhubarb and sweet orange juice.
Ingredients
1kg forced rhubarb, wiped and trimmed
600g granulated sugar
300g jam sugar with added pectin – this is needed because rhubarb is very low in pectin, the setting agent
100ml orange juice
Method
Combine the sugars.
Cut the rhubarb into roughly 205cm chunks.
Put a layer of sugar into a preserving pan and then add some rhubarb. Continue layering until all the sugar and rhubarb is used up.
Pour the orange juice over the top and leave for at least two hours – overnight is even better.
Stir the mixture very carefully and gently bring it to the boil. Stir it carefully so as to avoid braking up the rhubarb chunks too much. Boil until setting point is reached: use a sugar thermometer for this – the setting temperature is clearly marked on it.
Remove from the heat and let it rest for about 5 minutes. Then pour into warm, sterilized* jars and seal immediately. Use within 12 months.
* I find the best way to do this is to wash and rinse the jars thoroughly and then put them into a cold oven. Bring the temperature up to 120°C and then dry them in the oven for about 15 minutes. Be careful when you remove them – they will be hot!
Here are some more …
Jobs for March
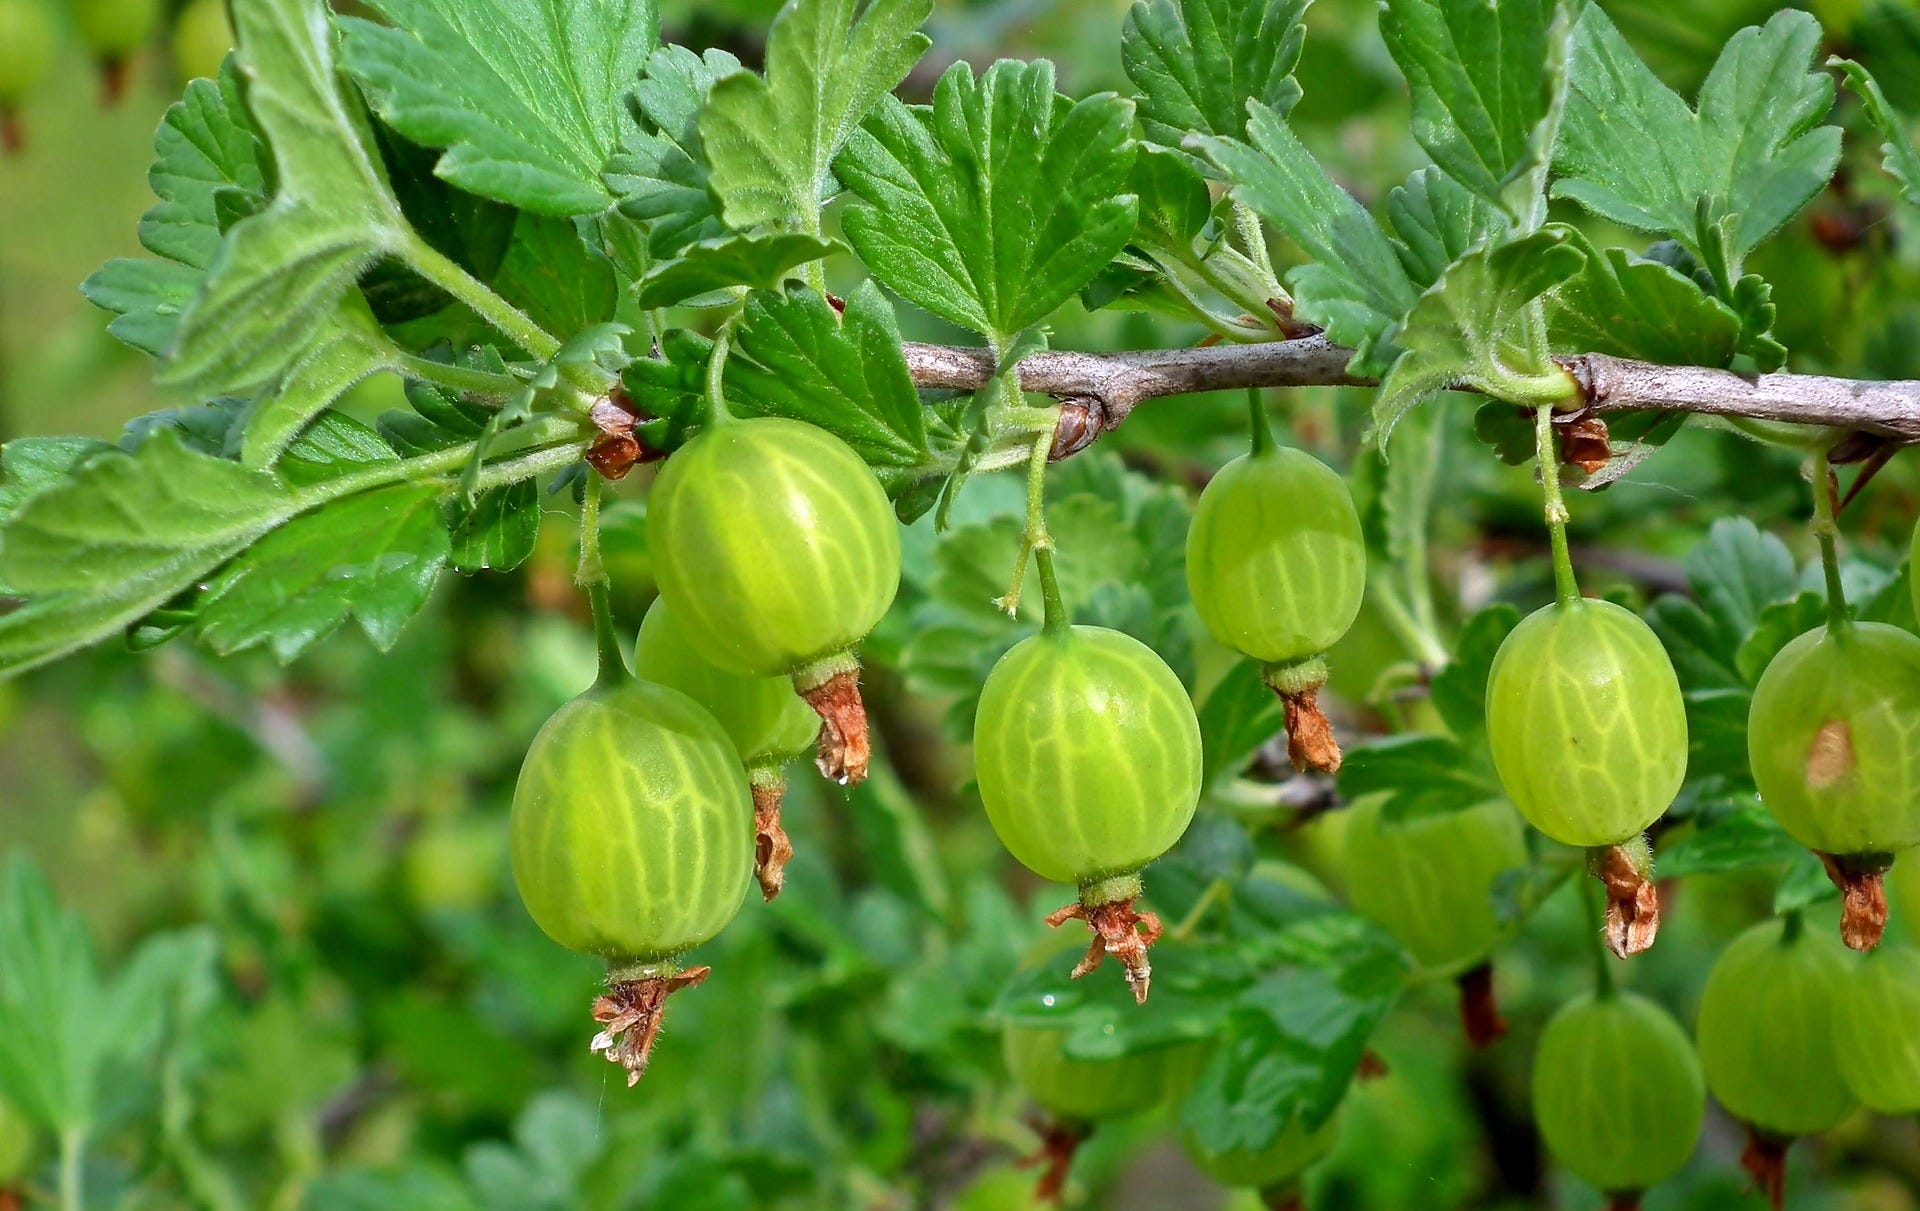
Now is the time to prune gooseberries. Cut back all the sideshoots to two or three buds from the main stems. Also cut back the leading shoots by a third to a half.
With the fine weather that some of us have been enjoying, look out for young weed seedlings germinating. Hoe them off as soon as you see them.
As new growth emerges, start staking or supporting herbaceous perennials: they will be large before you know it!
Seeds you sowed in February will be germinating and putting on growth. Pot them on once the first true leaves appear.
As the weather warms up, don’t forget to ventilate your greenhouse. Sunny days will increase the temperature inside to an alarming degree - and good air circulation will prevent seedlings damping off.
As spring bulbs, such as daffodils, finish flowering, pick off the seedheads – but leave the foliage to wilt and die naturally.
Book Review
I indulge in an occasional book review – garden-related, of course. And this month I thought I would bring Katherine Swift’s The Morville Year into the spotlight.

I chose it for a number of reasons, one of which is that Morville’s year starts in March – just right for this set of articles.
The book is ostensibly a garden journal, capturing and describing the unfolding of the year in Swift’s garden at Morville in Shropshire. But it’s so much more than that.
Yes, there are practical gardening tips like, included in March, how to prune a wisteria – “For established wisterias, now is your last chance to prune” – and that you can pollard Salix. There are also informative studies of nature, and you get insights into history, art, literature and even geology: “A railway journey from London to Carlisle takes you scything across more than a dozen different geological divisions….”
And she writes in a scholarly and poetic manner – here’s how she describes bees on lavender (I had to get a reference to bees in somewhere!):
“Bombus – now there’s a wonderful onomatopoeic word – Latin for bumblebee. I’ve just been watching two young Bombus lapidarius queens feeding on my Old English Lavender, and the word perfectly conveys the sound – a deep resonant hum – as well as their bumbling progress from flower to flower.”
And here’s another entry for March. It sums up what gardening is all about:
“There’s something incredibly exciting about that first whiff of mown grass. It’s like the overture to Mozart’s Marriage of Figaro – all that suppressed excitement and fizz, just waiting to explode like a magnum of champagne. […] Gardening’s like that: every year the chance to make a fresh start, take off in a different direction, be someone new.”
I keep dipping into it throughout the year to see what Katherine has been up to next.
There is so much wisdom, wit and poesy in this book – I urge you to get hold of a copy. Despite being published over ten years ago it’s still available - a testament to it’s enduring popularity.
Swift, Katherine (2011) The Morville Year, Bloomsbury, London.
Picture credits:
Prunus, Quince blossom, Quince fruit, Rhubarb stems and stalks, Gooseberry bush: Pixabay. All others: my own copyright
For more information about The Bee Garden and what I get up to, please have a look at my website www.thebeegarden.co.uk which also features my online shop.
And as a thankyou for signing up to receive these articles you can get a 10% discount on all items in the shop: simply enter SUB10 at the checkout and the discount is automatically activated.